First Print Fridays
The rollerblade side panel is close to the size of the print bed—it barely fits with a 1 mm brim—so it’s crucial that the filament sticks as soon as it’s laid down. After some false starts with poor bed adhesion, I finally got the print to stick. Turns out it wasn’t a problem with the filament, or the nozzle clogging (again), but with the levelness of the build plate.
The side plates are awfully flat, but why spend 4 minutes cutting the part out on the waterjet when you can spend 4 hours printing it? Here’s the results:
First layer was generally acceptable, though the walls detached from the build plate at points in the first few layers, resulting in slight deformation.
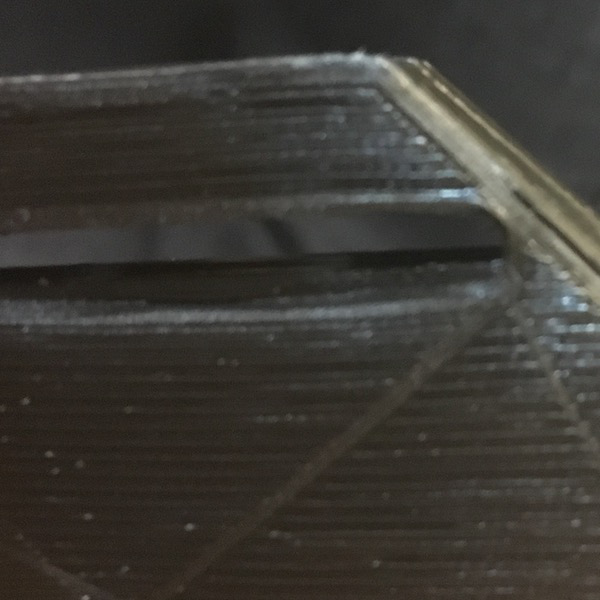
The corner of the velcro loop will probably be a stress concentrator. $10 says it fails here first.

There’s some mild ringing about the screw holes (no threads were printed). Delamination may occur when holes are tapped.
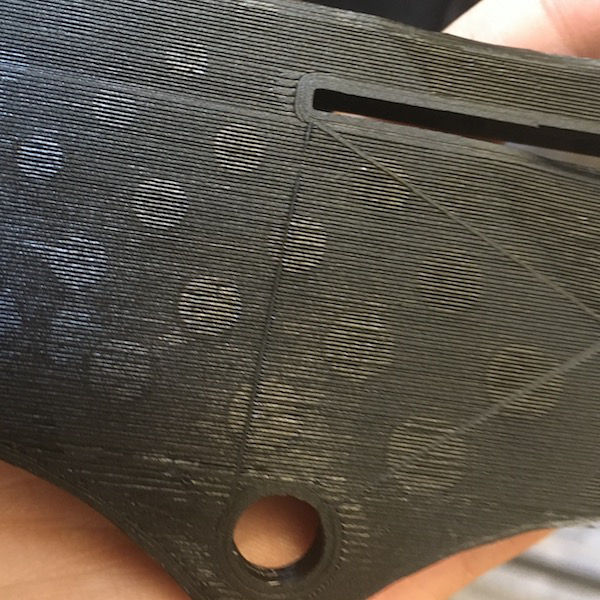
Patterning was left on the first layer by the residue from the previous print (hole calibration). Potential for art?

Build plate scratches—see sides of Monoprice logo
There’s some “scarring” on the build plate, which suggests that the nozzle is a hair too low. A bit clearance would probably improve the first layer.
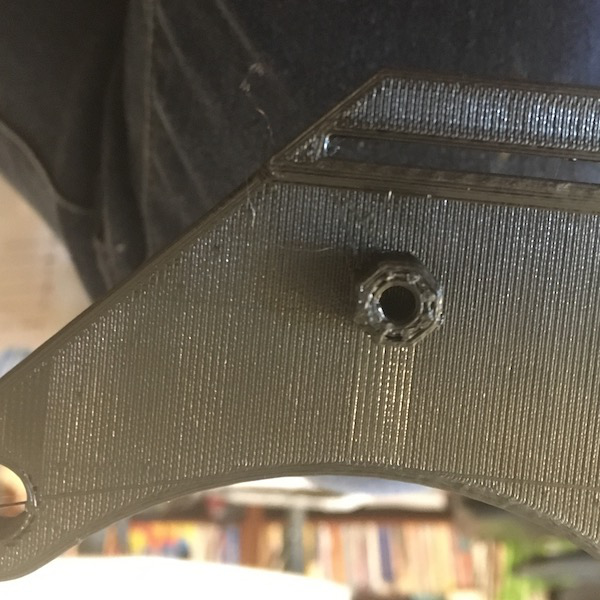
Standoffs
I might forgo these next time, since they increase print time and mating 3D printed parts is just a pain for someone with an uncalibrated printer like meeeee
Until next time!